Want to Create an At-Home Exfoliating Facial? We’ve Got Your Perfect Routine
Summary
Can’t make it to the spa? Create your own at-home exfoliating facial routine and bring the spa home. Here are our holistic esthetician’s best recs + pairings.As seasons change, it often feels like your skin needs a tweak with your routine. Our favorite practice to incorporate with summertime + warmer weather wrapping up?
Exfoliation.
But not just any exfoliation. We’re talking about exfoliating the face naturally + incorporating a full spa-like treatment. Our approach to exfoliation is definitely not the norm. No chemical peels or at-home microdermabrasion are involved.
An exfoliating facial is one of the best ways to reset as seasons change + encourage cell turnover and a glowing complexion.
But who says an at-home exfoliating facial can’t be as effective + relaxing as one you’d experience in a spa setting? You just need to know the right steps + products to use. ;) Plus, there’s the comfort + ease of fitting it into your routines when it works best for you.
Easy on the budget and easy on the brain, this handy guide will lay out an at-home exfoliating facial for you, step by step.
But first, let’s talk about all the benefits.
Benefits of an At-Home Exfoliating Facial
You know we’re all about an afternoon spent at a holistic spa. But when you can’t make it to the spa, there’s no reason you can’t bring it home.
If you’ve been around Primally Pure long, you know we love regular exfoliation. But with one important caveat. Exfoliating should be done in a gentle way that respects the delicate moisture barrier + integrity of the skin.
Many exfoliating facials – unless they’re exclusively holistic-focused – may include abrasive or chemical exfoliation. Often, this is too intense for the skin.
→ And even some holistic estheticians may overuse exfoliation, so be careful.
With that said, an at-home exfoliating facial is all about tuning into your skin and caring for it compassionately. Less is more with exfoliation. Contrary to popular belief – a rough scrub is NOT what your skin needs :)
Supports a Peaceful Mind + Healthy Body
A little at-home exfoliation facial helps more than your skin. It reminds you to slow down and practice the concept of self-health. Self-health means caring for yourself + your body so that you can show up more fully in life for the ones you love.
Taking time for yourself is proven to lower stress levels and increase self-compassion.1 A gentle, at-home exfoliating facial activates your parasympathetic activity + stimulates the vagus nerve. The gentle, rhythmic motion of exfoliating facial tools + products helps lower stress hormones. Give your spa session a boost by playing calming music.
But of course, we’d be remiss to not mention the skin benefits too.
Skin Benefits of an At-Home Exfoliating Facial
Besides the calming effects of an at-home exfoliating facial, you’re going to love how it positively impacts + rejuvenates your skin.
Here’s what an at-home exfoliating facial does for your skin:
- Encourages cell turnover for decreased discoloration and radiant skin
- Clears pores + visibly minimizes buildup (especially blackheads + stubborn milia)
- Diminishes fine lines and wrinkles for a youthful appearance
- Detoxifies skin tissue to help clear inflammation + irritation
- Creates smoother skin + better product absorption (and better results)
- Improves circulation, creating better blood flow to support a healthy glow
- Opens pathways for lymphatic flow to deliver nutrients to areas that need healing
- Brightens complexion by sloughing off dead skin cells
- Builds a stronger skin barrier that protects + improves skin
Here’s how to build out your personalized at-home exfoliating facial.
Build Your At-Home Exfoliating Facial Ritual
Get ready for a full-fledged relaxing + rejuvenating experience. Just because you’re at home doesn’t mean this ritual can’t be indulgent + soothing. ;)
1. Set the Vibe for a Memorable + Relaxing At-Home Exfoliating Facial
This is an important step – don’t skim over this!
Here’s how to create the perfect environment.
→ Put on your favorite playlist (we like to play this one in the spa for the benefits of nature on the nervous system)
→ Choose a room clear of clutter that feels peaceful (an at-home exfoliating facial doesn’t have to happen in your bathroom!)
→ Practice some deep breathing (try out nose breathing, it’s an excellent way to wind down and calm your mind)
→ Light a candle to set the ambient mood with some juicy aromatherapy (we’re biased but you should try our non-toxic candles ;))
Setting the tone is so important! Now that you’re in the zen headspace, you’re ready to officially begin your at-home exfoliating facial experience.
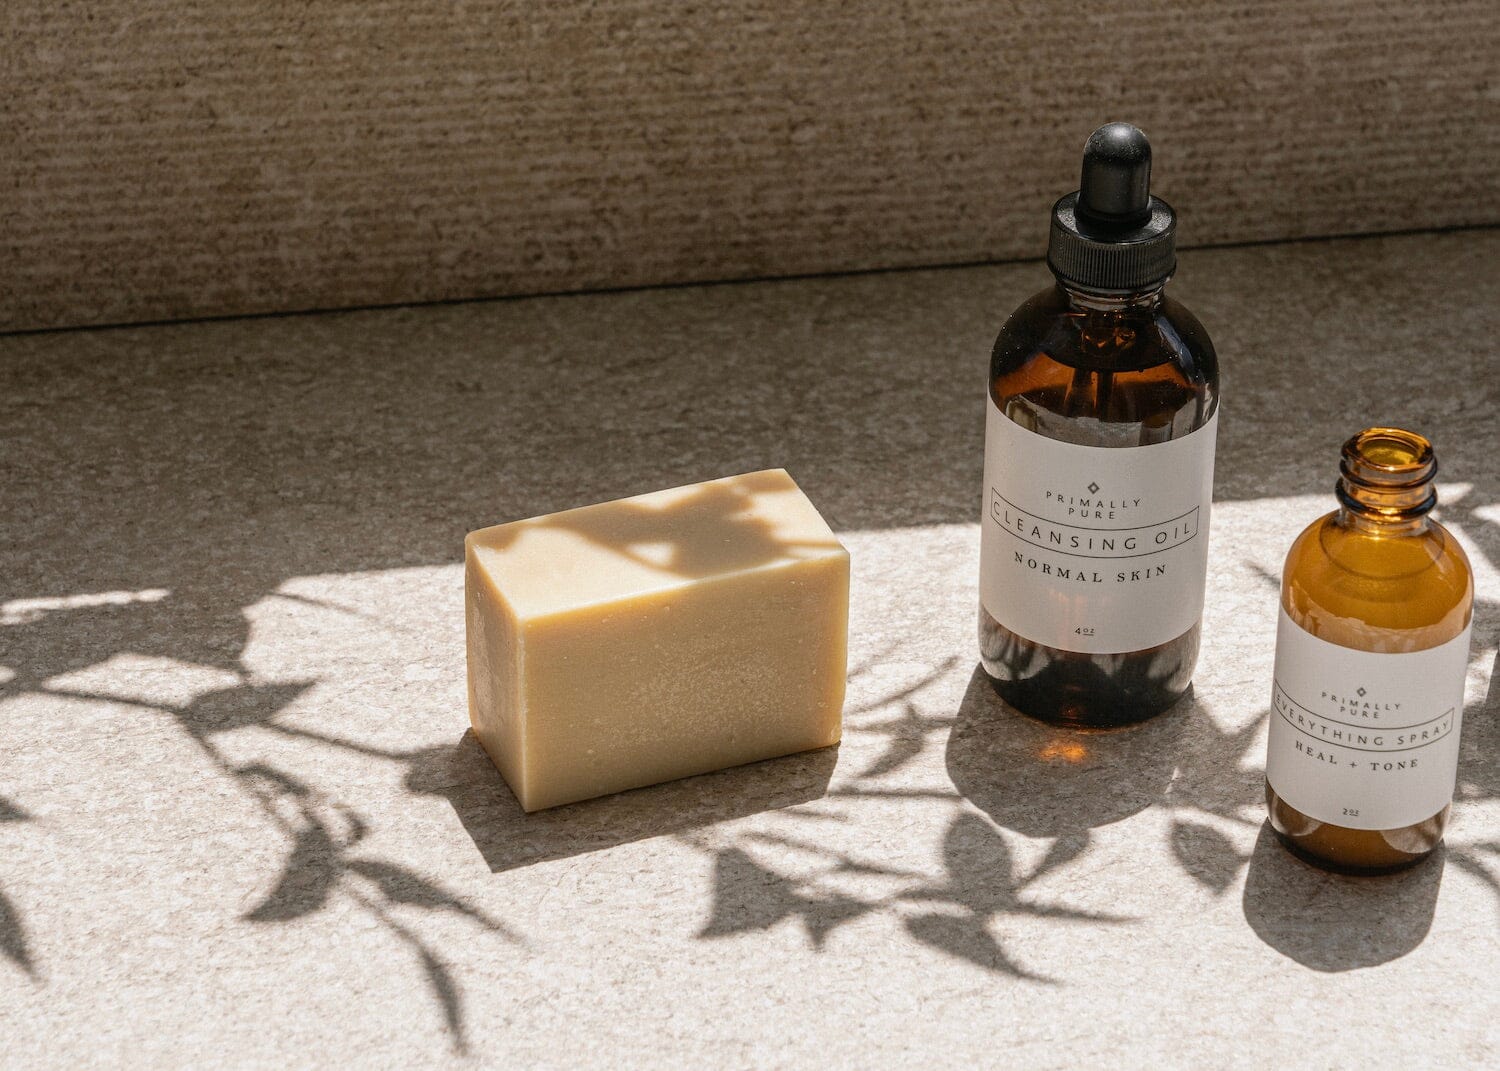
2. Cleanse With a Gentle Cleansing Oil + Light Exfoliating Bar
Cleansing should be a mindful + rewarding experience. Washing your face might feel like a chore at the end of a long day. But when it’s part of your at-home exfoliating facial, it’s a totally different experience. ;)
Our cleansing oils feature the aromatherapy + medicinal properties of orange, lavender, geranium, and peppermint essential oils. But it’s also a multitasker, pampering your skin with nourishing oils like jojoba oil and pomegranate oil.
Here’s how to approach the cleansing step:
→ Take a couple of minutes to lovingly massage the cleansing oil into your skin.
Pay extra attention to any areas of tension or areas prone to breakouts + inflammation.
Tip: For many people, breakout-prone areas include the forehead, nose, or chin.
→ Hold a clean, warm washcloth directly to your skin until it cools.
Let the warmth soak into your skin, softening skin texture + gently opening your pores. This step helps remove any excess oil/dirt. Once the washcloth is cool, you’re ready for the next step in cleansing.
→ Take a minute to double cleanse with a skin-specific gentle cleansing bar.
Our clarifying bar is a great option for an at-home exfoliating facial. It provides light exfoliation without overwhelming the skin.
Feeling fuzzy on oil cleansing? Check out this oil cleansing tutorial.
Next up in your at-home exfoliating facial: one of our favorite gentle exfoliating facial tools: a facial dry brush.
3. Use a Facial Dry Brush to Exfoliate
Facial dry brushing is an easy + quick practice that awakens and invigorates your skin – while gently exfoliating. This step helps buff away dead skin cells and regenerate dull, lifeless skin.
But remember: always use light pressure. The goal is to provide gentle exfoliation + encourage lymphatic flow – not scrub!
Follow this path with your facial dry brush:
- Start at the neck, stroking downward lightly 5-10x to encourage drainage from the lymphatic system.
- Work upwards, starting at the jawline and moving from the center of your face to the hairline. Brush one side at a time.
- Target areas you experience congestion, puffiness, or excess buildup. Similar to your cleansing oil, an at-home exfoliating facial is a great time to really tune into your skin. Intuitively focus on areas that need more attention. (And remember to always work around any active breakouts or flare-ups to help bring healing to the impacted area.)
- When you’ve covered the whole face, finish with long upward strokes up the neck and the face. This encourages fresh flow + sends energy and nutrients back to the skin.
Feeling confused? Here’s a video tutorial from our holistic esthetician if you’re new to this exfoliating facial tool – it’s easy, promise!
Ready for what’s next? This is your time to sit back and do nothing while a nutrient-rich mask soaks in. And yes, it’s as good as it sounds. ;)
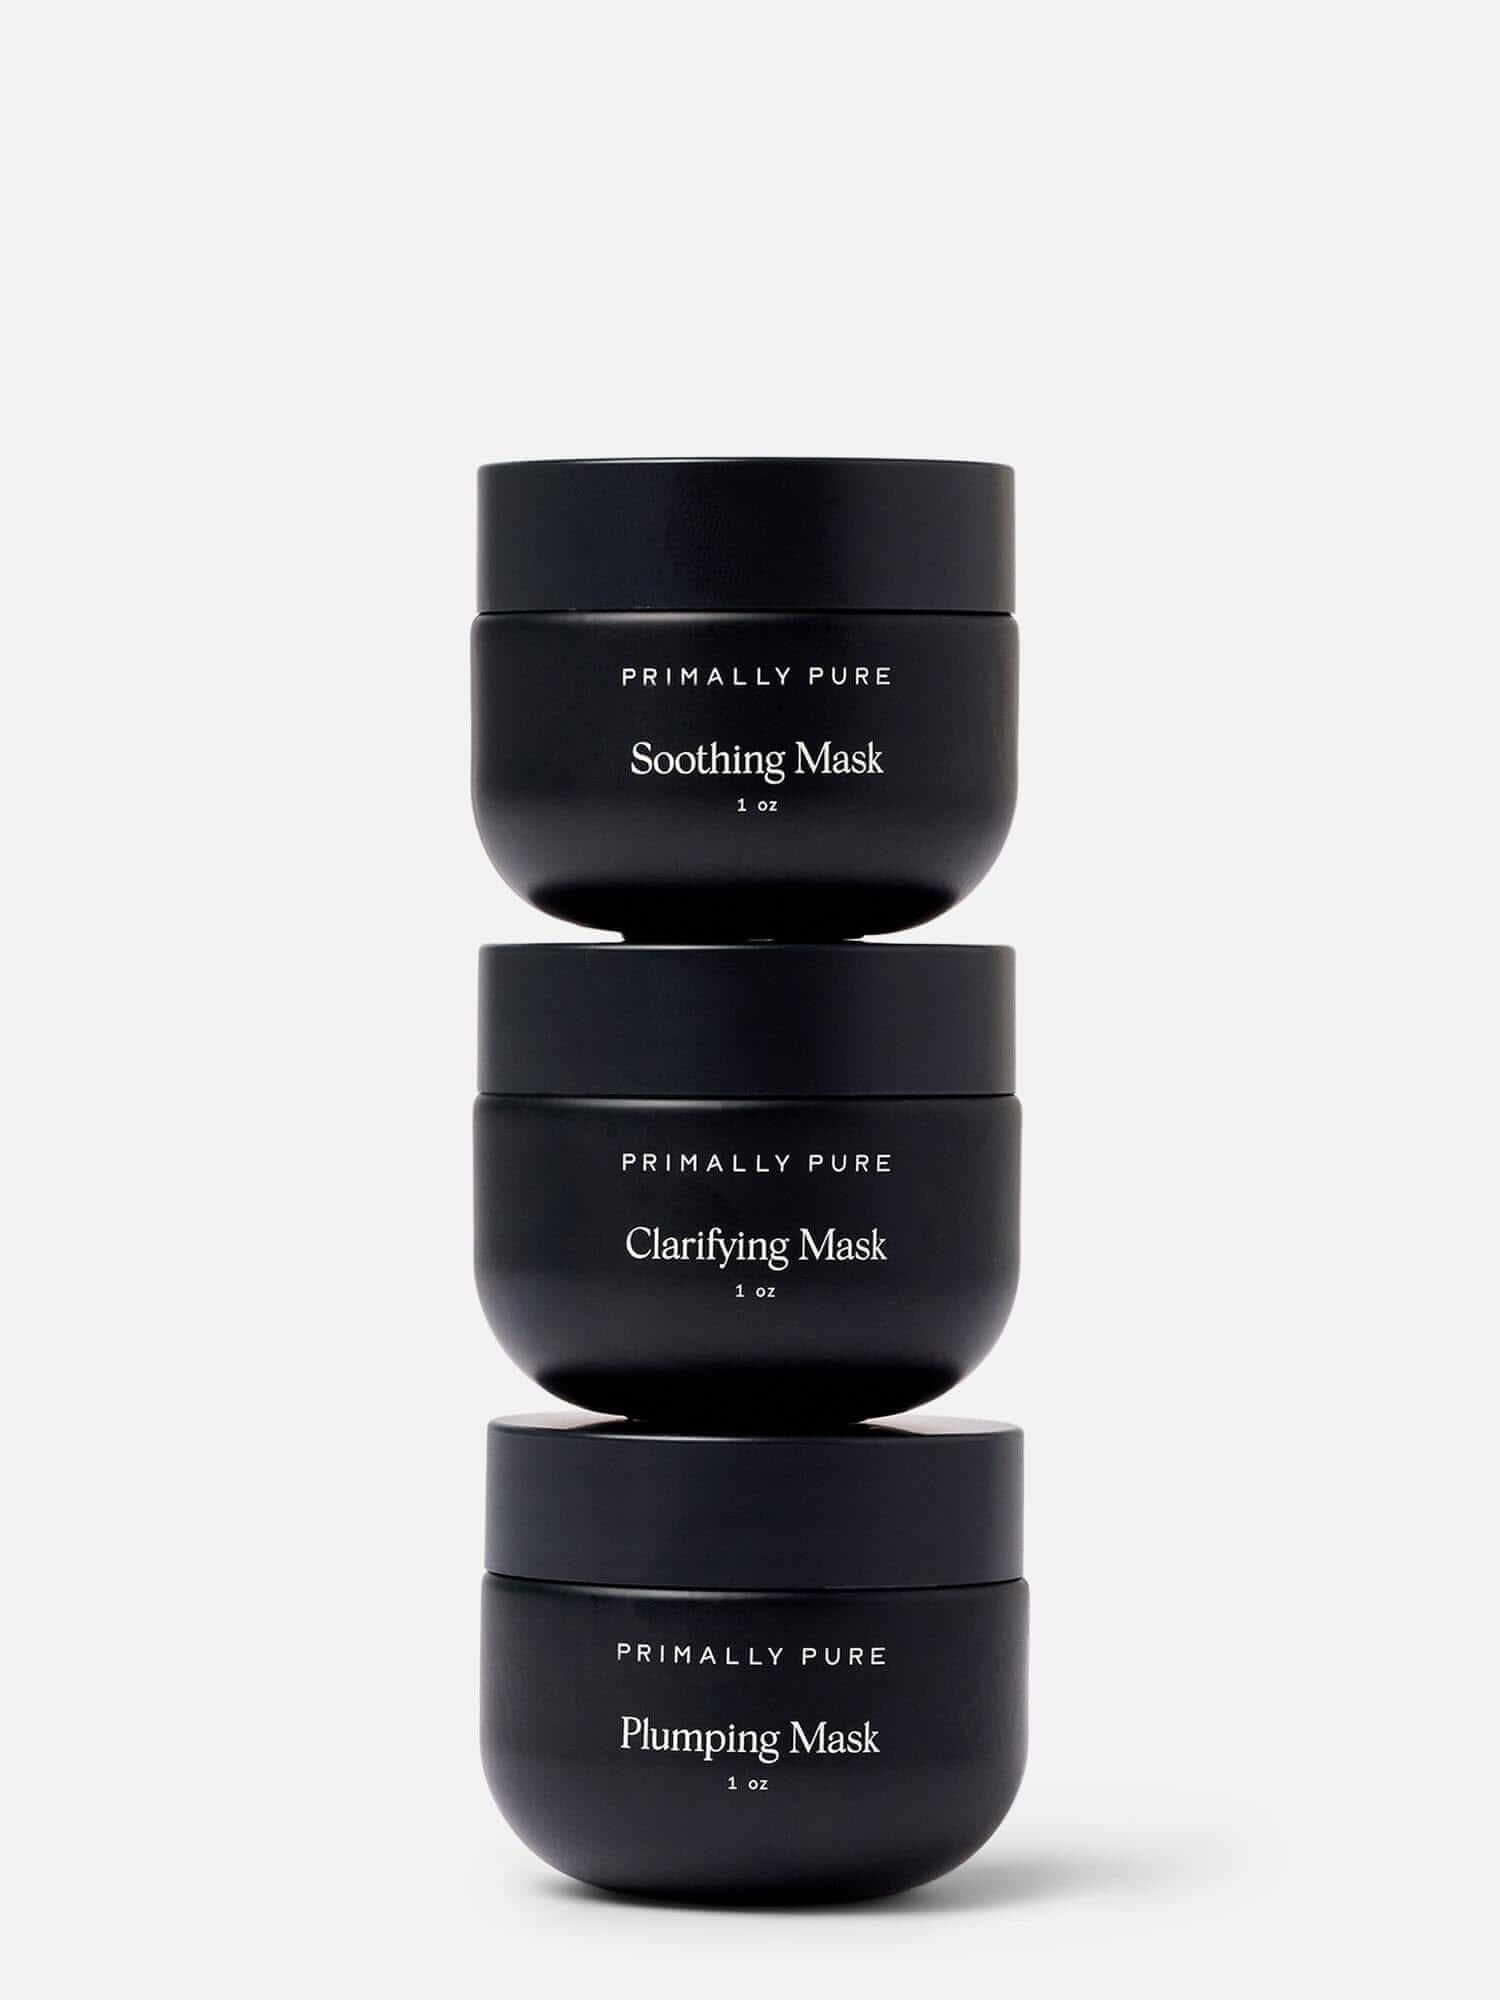
4. Time for a Facial Mask of Choice (Clarifying or Plumping)
After double cleansing and using your dry brush, you’re ready for the next step in your at-home exfoliation facial – a refining mask.
Depending on your skin state + preference, you can choose one of two options:
- The Clarifying Mask: We love the clarifying mask for an at-home exfoliating facial because it contains two important ingredients:
- White willow bark – a natural alternative to salicylic acid. It provides an added layer of gentle exfoliating without any sensitizing side effects.
- Honey – provides enzymatic exfoliating while restoring moisture, balancing pH + sealing in nutrients. It even helps bring more oxygen to the skin by improving circulation in the facial tissues.
- The Plumping Mask: If you’re looking for more moisture with your mask, this is your answer. It contains:
- Bakuchiol – known as nature’s retinol, this ingredient is proven to work just as well as synthetic retinol products.
- Honey – deeply nourishes and refines the skin. Just as we said above, we love how honey rejuvenates our skin.
*Tip: if you have combination skin, try out the multi-masking trend and pair two or more masks.
After applying, let it sit for 15-30 minutes. Sip a cup of herbal tea and catch up on your favorite novel or holistic health blog (like ours ;)). When you’re done, it’s time to prime your skin.
5. Spritz the Everything Spray
Now that you’ve completed the exfoliating portion of your at-home exfoliation facial, you’re ready to prep the skin for the day (or night) ahead.
The Everything Spray is our favorite – especially used after natural exfoliation. It contains powerful replenishing properties and an added layer of detoxifying and balancing. The star players are raw organic apple cider vinegar, aloe vera, and tea tree oil.
Spritz generously over the entire face and neck. You can also apply by pouring a bit on an organic cotton round and sweeping across your face, neck, and decollete.
Next up, let’s nourish and protect the newly revealed skin with a restorative last step.
6. Finish with Serum + Cream
Time for your final step in your at-home exfoliation facial: skin-specific serums + creams. Depending on your skin state, you’ll want to choose a pairing that supports your unique skin needs.
→ First, apply your serum and gently massage it into the skin (a little goes a long way). This is an important step to restore moisture with full-profile nutrients to complement your newly revealed skin.
→ Next, apply our skin-specific face creams for silky moisture that seals in and protects your skin’s moisture barrier.
*Tip: Add a final spray of facial mist to lock in even more moisture.
Take a deep, cleansing breath – your at-home exfoliation facial is complete!
How do you feel?
Whether you decide to return to your day or sink deeper into a relaxing practice is up to you. Just enjoy your fresh, glowing skin and refreshed _ grounded energy. :)
Remember: An At-Home Exfoliation Facial Is Accessible to You Any Time
Practicing the care + keeping of healthy, thriving skin is not only rewarding on a physical level, but an emotional one too. There’s something to be said for the deep relaxation of getting lost in the moment, listening to your skin intuitively + focusing inward for a pause.
We all deserve moments of peace sprinkled throughout our busy lives.
How can you take a moment to create a special spa-like experience for yourself? Try an at-home exfoliating facial like this one, or book an appointment with your holistic esthetician.
Whatever you choose, remember there’s always value in prioritizing yourself.
Inward and outward, it’s all connected. Make it count.
XO
Sources:
Pin your fav blow post below:

Highlighted in This Post
- Tags: Skincare Tips


Leave a Comment